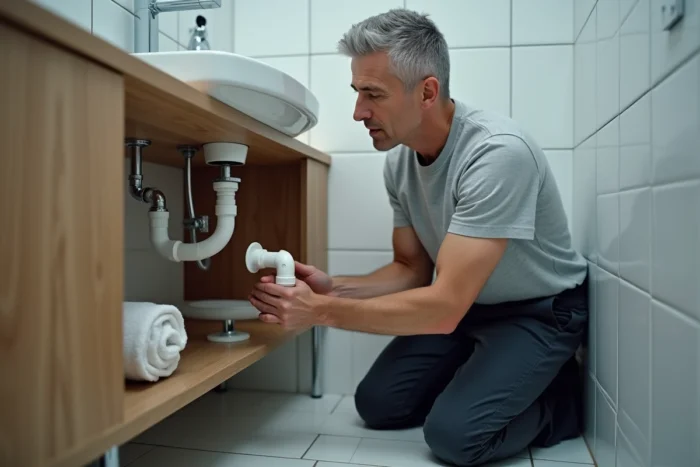
You are under the sink, adjustable wrench in hand, and you hesitate: should you turn right or left to unscrew this stubborn trap? This hesitation is the main cause of damaged threads by individuals forcing the wrong way. The answer lies in a simple rule, but the uncomfortable position under the basin complicates everything.
Right-hand thread on a sink trap: what it really means
Almost all traps sold in Europe use a right-hand thread. This means they were screwed in by turning clockwise. To unscrew them, the logic is therefore the opposite.
In practice, turn counterclockwise to unscrew. This rule applies to PVC traps, ABS traps, and most chrome-plated brass models. If you know which way to unscrew a trap, you will avoid unnecessary force and damage to the nuts or seals.
A mnemonic works well: imagine that the nut is a clock viewed from the front. To loosen, your hand turns to the left. To tighten, to the right. Plumbers summarize this as “left to undo, right to do up.”

Why so many people get the direction wrong under the sink
The rule is simple on paper. Under a sink, it’s another matter. You are working lying on your back or on your knees, head tilted back, arms raised. In this position, your perception of rotation is inverted.
Have you ever noticed that when turning your hands above your head, the direction “left” becomes blurry? That’s exactly what happens. The brain interprets the rotation in relation to your body, not in relation to the nut.
The mirror technique to avoid mistakes
Manufacturers’ instructions, such as those from Hansgrohe or Grohe, recommend positioning yourself in line with the nut before turning. In practice, a small pocket mirror slipped under the trap allows you to see the ring from the front.
Position the mirror so that you see the nut as if you were facing it, standing. From there, apply the standard rule: counterclockwise. This trick eliminates the problem of spatial disorientation.
The mistake that damages the thread
Forcing in the wrong direction not only blocks the nut. On a PVC trap, the thread quickly deforms. On an older metal model, the threads seize up more. In both cases, a nut that resists after a quarter turn should alert you: stop, check the direction, then resume.
Plastic trap or metal trap: the differences in unscrewing
The direction of rotation remains the same regardless of the material. What changes is the force to apply and the tool to use.
- PVC or ABS trap: nuts can usually be unscrewed by hand. If the trap has been in place for a long time, a cloth wrapped around the ring provides a better grip without risking cracking the plastic.
- Chrome-plated brass or copper trap: an adjustable wrench is often necessary. Protect the chrome surface with a cloth to avoid scratches. Oxidation can block the nut, a bit of penetrating oil applied a few minutes beforehand makes the job easier.
- Design “bottle trap”: these models have nuts with a fine collar, sometimes located on the side. The direction remains the same (counterclockwise), but the side access makes the action less intuitive. Position yourself in line with the collar before turning.
Unscrewing a stuck trap: actions that unlock without breaking
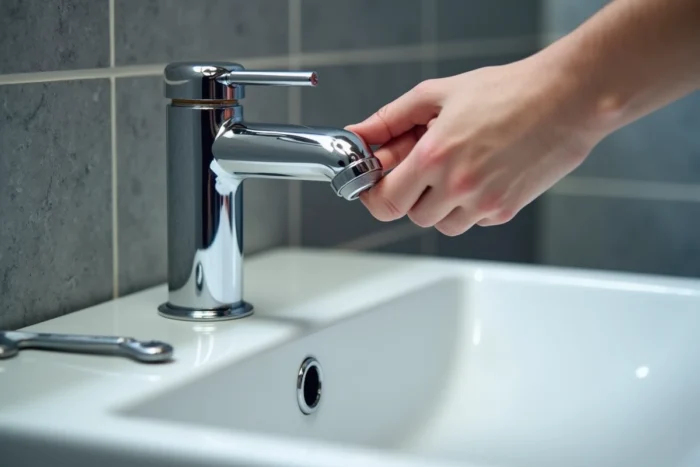
A trap that refuses to budge is not necessarily screwed in the opposite direction. Limescale, soap residue, and corrosion gradually bond the threads.
Before forcing, pour hot water (not boiling on PVC, warm is sufficient) around the joint. The slight expansion of the material may be enough to free the nut. On a metal trap, penetrating oil left to act for about ten minutes yields good results.
The counter-hold method
If the whole assembly turns without the nut loosening, it means the trap is rotating along with your hand. Hold the body of the trap firmly with one hand (or with a second wrench) while the other hand turns the nut. Without a counter-hold, you are just making the trap spin on itself.
This technique mainly applies to straight traps, whose cylindrical body turns easily in hand. Bent traps naturally offer more resistance to pivoting due to their shape.
Reassembling the trap without leaks after cleaning
The reassembly follows the reverse logic: screw clockwise. Two points deserve your attention.
Flat seals (often black, made of rubber) should be inspected before reassembly. A cracked or deformed seal will not regain its watertightness. The cost of a new seal is negligible, and keeping a few on hand avoids a trip to the hardware store.
Hand-tighten the nuts, then add a quarter turn with the wrench. Excessive tightening on PVC can crack the ring or crush the seal, which causes exactly the leak you are trying to avoid. After reassembly, let the water run and run your finger over each joint to detect any moisture.
The sink trap remains one of the simplest plumbing components to handle. The difficulty lies in the working position, not in the action itself. Keep a mirror handy and remember the right-hand thread rule: to undo, turn left.